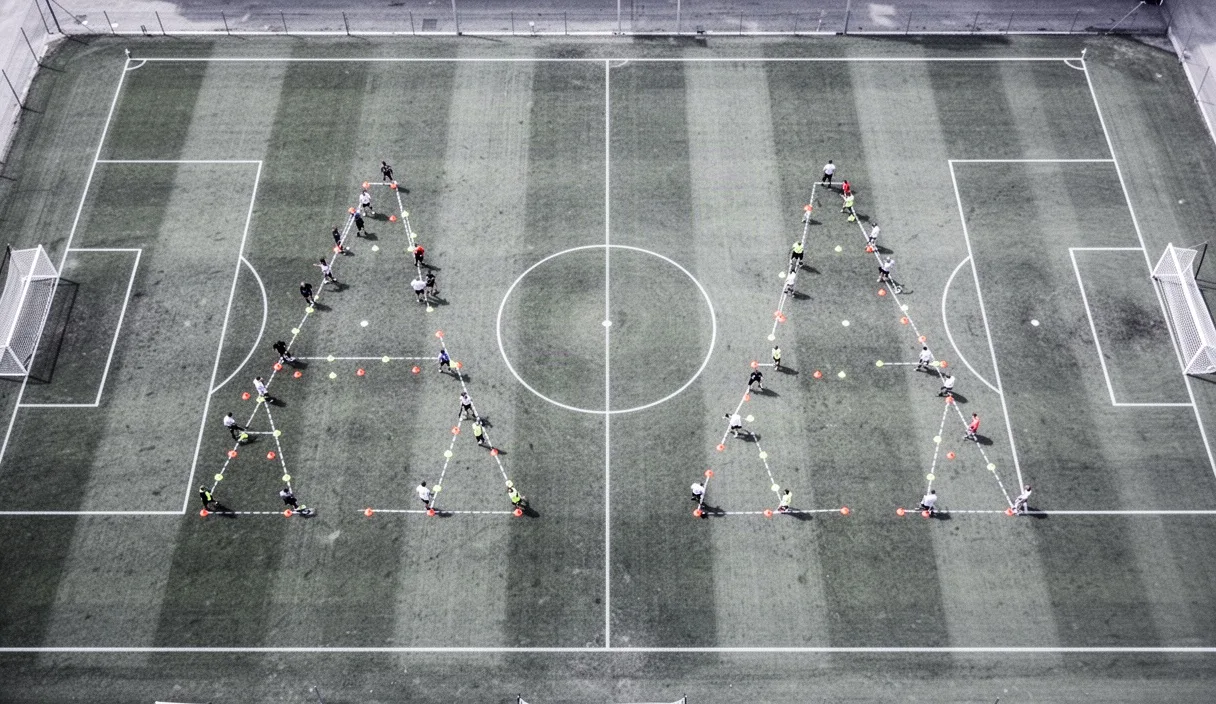
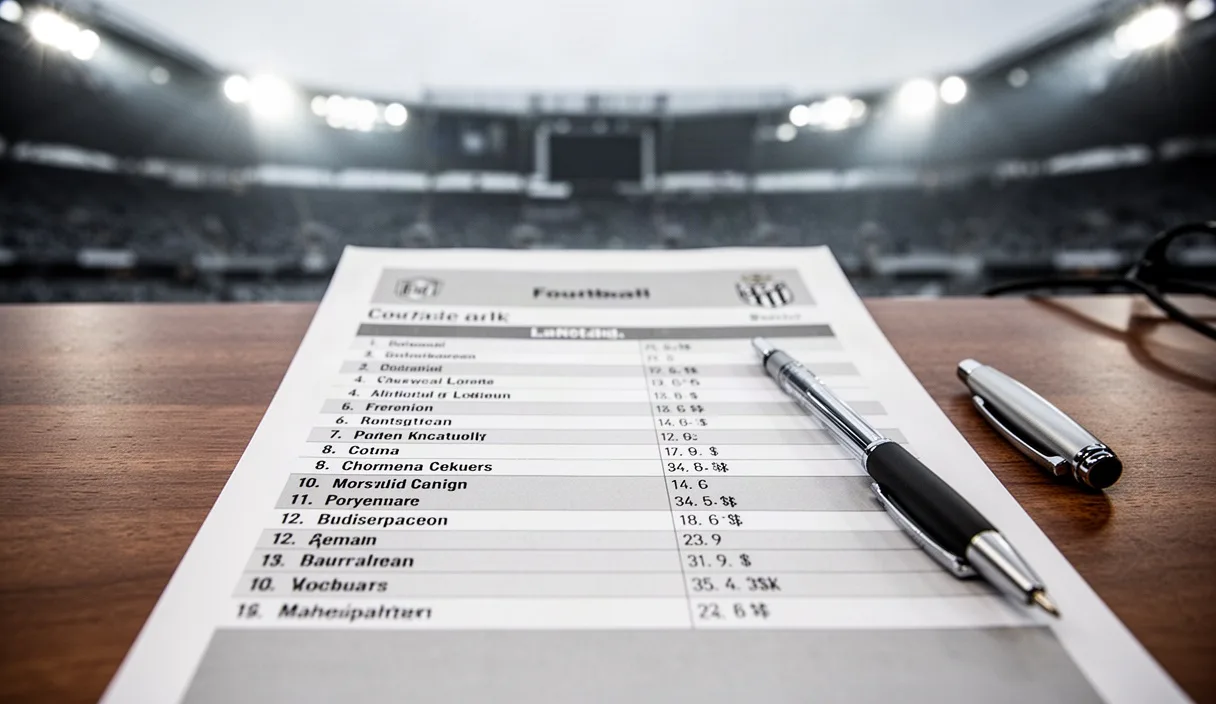

A formation sheet is the printed team list handed to press box and broadcasters before kickoff. It shows eleven shirt numbers arranged in rows that mimic a shape on the pitch: back line, midfield line, forward line. Coaches fill it in themselves or through a press officer, and it becomes public thirty to sixty minutes before the match starts.
Reading it well takes practice, because a formation sheet is a starting position, not a script. It tells you who is on the pitch and roughly where they will line up for the kickoff whistle. It does not tell you how the team presses, who covers for the full-backs, or what happens when they lose the ball in the final third. This piece walks through what the sheet can and cannot tell you, number by number.
What a formation sheet actually tells you
A sheet gives you personnel: eleven names, eleven shirt numbers, one shape label such as 4-3-3 or 3-5-2. That shape label is nominal. It is the club's own description, and clubs are not required to describe their shape the way an analyst would. A team announced as 4-2-3-1 can play a match that looks, in practice, like a 4-4-2 with one midfielder dropping deep.
The sheet also tells you squad depth on the bench, usually seven substitutes in most European leagues, nine in some domestic cups. That bench list matters because it hints at which positions the manager is willing to change. A bench with three centre-backs and no wide forwards suggests a plan to shore up a lead, not chase a goal.
What the sheet cannot tell you: marking assignments, pressing triggers, or which full-back is told to stay home while the other overlaps. Those details only show up once the ball is in play. Treat the sheet as a hypothesis about shape, not a guarantee.
One practical habit: write the shape down twice, once as printed and once as you expect it to look in possession versus out of possession. Many managers use two different shapes depending on who has the ball, and the sheet only shows you the starting snapshot.
Reading full-back and wing-back numbers
The difference between a full-back and a wing-back starts on the sheet, before a ball is kicked. A full-back in a back four, usually wearing 2 or 3, is listed level with the two centre-backs. A wing-back in a back three or back five sits nominally higher, and clubs increasingly hand that role a higher number, such as 19 or 22, rather than the traditional 2 or 3.
The row position on the sheet is the first clue. If the sheet lists four names on one line under "defence," you are looking at a back four, and the widest two names are your full-backs. If the sheet lists three names under "defence" and two more names under "midfield" who are known attacking outlets, you are likely looking at a back five in defensive phases and a back three in possession.
| Signal | Back four full-back | Back three wing-back |
|---|---|---|
| Sheet row | Listed with centre-backs | Listed above centre-backs, near midfield |
| Typical number | 2, 3, 12 | 19, 22, 27 (club-dependent) |
| Expected width in possession | Touchline, overlapping winger | Touchline, often the widest outlet with no winger ahead |
A concrete example: a sheet showing Internazionale's 3-5-2 usually lists the wing-backs, often numbered in the high teens or twenties, on the same line as the central midfielders. That placement is the giveaway. If you only glance at the headline "3-5-2" without checking where those two names sit on the sheet, you will misjudge how much defensive cover the team actually has out wide.
Spotting a double pivot and what it means
A double pivot is two central midfielders operating at the same height in front of the back line, usually numbered in a pair like 5 and 6, or 4 and 8. On the sheet, look for two names on the same row with no third name listed distinctly higher as an attacking midfielder. That absence of a clear number 10 slot is the tell.
Contrast that with a single pivot: one holding midfielder, often wearing 6, sits alone on a row, with a number 10 or two attacking midfielders listed clearly ahead. A 4-2-3-1 sheet with a genuine double pivot will show two names bunched together below three attacking names and one striker. A 4-3-3 sheet, by comparison, sometimes hides a double pivot inside what looks like a midfield three, with one of the three (often an 8) instructed to sit deep next to the 6 rather than push forward.
Manchester City's sheets have shown this pattern repeatedly: two deep-lying names, sometimes 16 and 25, placed under a false nine, giving the base of the team two short passing outlets rather than one. The practical meaning for you as a viewer: a double pivot signals a team building patiently through the middle, with cover in place if one pivot player steps forward to receive.
Forward line clues: one striker versus two
How many names sit on the top row of the sheet tells you about central defensive workload before kickoff. A single central striker, usually numbered 9, flanked by wide forwards tucked inside such as a 7 and an 11, points to a 4-3-3 or 4-2-3-1 shape. In that setup, one centre-back typically takes primary marking responsibility for the striker while the other covers space.
Two strikers listed on the same row, commonly numbered 9 and 10 or 9 and 11, point to a 4-4-2 or a variant of it. That doubles the marking job for the back line: both centre-backs now have a direct opponent rather than one marking and one covering. Central defenders in a back four facing two strikers usually sit slightly narrower and closer to their own box at kickoff than they would against a lone striker.
- One name on the top row: expect wide forwards cutting inside, full-backs providing width.
- Two names on the top row: expect a flatter midfield four beneath them, less rotation through the middle.
- Three names bunched just behind a single striker: expect a 4-2-3-1, with the central of the three drifting into pockets between opposition lines.
Cross-checking the sheet against the first ten minutes
The sheet is a hypothesis. The first ten minutes of the match, especially the team's own goal kicks, throw-ins, and corners, show you the actual shape. A goal kick is the cleanest moment to check: pause on it if you can, and count how many players sit on the back line and how far apart the widest two are standing.
A common gap: a sheet printed as 4-3-3 that behaves like a 3-4-3 once the team has the ball, because one full-back steps into midfield alongside the pivot. Pep Guardiola's teams have done this for years, most visibly with John Stones or Kyle Walker stepping inside during build-up. If you only read the sheet, you miss that in-possession shape entirely.
A step-by-step check for the first ten minutes:
- Watch the first goal kick. Count defenders spread across the back line.
- Watch the first throw-in in the attacking third. Note who overlaps and who stays.
- Watch the first corner defended. Count how many players drop to the edge of the box versus how many stay forward for a counter.
- Compare that picture to the printed sheet. Write down where they differ.
If the gap between sheet and reality is large after ten minutes, treat it as the manager's actual tactical intent, not a fluke. Sheets describe kickoff positions; matches reveal game plans.
Common misreads beginners make
The most frequent mistake is assuming shirt numbers always match position. Some clubs still number by squad seniority or sponsorship reasons rather than role, so a winger might wear 4 and a centre-back might wear 21. Check the sheet's row placement, not just the number, before drawing conclusions.
A second mistake is assuming every 4-2-3-1 has a genuine double pivot. Some managers stagger the two deep midfielders, with one sitting a few metres ahead of the other rather than side by side. On paper both sit on the same row; in practice one is closer to a single pivot with support, not a true double pivot.
A third mistake is ignoring the bench. A team can be printed as 4-3-3 but carry three natural wing-backs and one extra centre-back among the substitutes, telling you the manager is ready to switch to a back three if the match demands it. Reading only the starting eleven and skipping the bench list means missing that contingency plan.
A fourth mistake is confusing a back three with a back five purely from the headline number. The two shapes often use the same personnel; the difference is whether the wing-backs sit high (back three, attacking phase) or drop level with the centre-backs (back five, defensive phase). Both are correct readings of the same sheet, depending on which phase of play you are describing.
Putting it into practice before your next kickoff
Get the sheet as early as it is published, usually around an hour before kickoff, and write the shape down in two versions: attacking and defensive. Mark full-backs and wing-backs by their row position, not just their number. Note whether the midfield line shows a paired double pivot or a staggered single pivot with support.
During the first ten minutes, check a goal kick and a defended corner to confirm or correct your notes. Keep a simple running log for teams you follow regularly: printed shape, actual shape after ten minutes, and any consistent gap between the two. Over a handful of matches that log tells you more about a manager's real tactical habits than any single sheet ever will.